
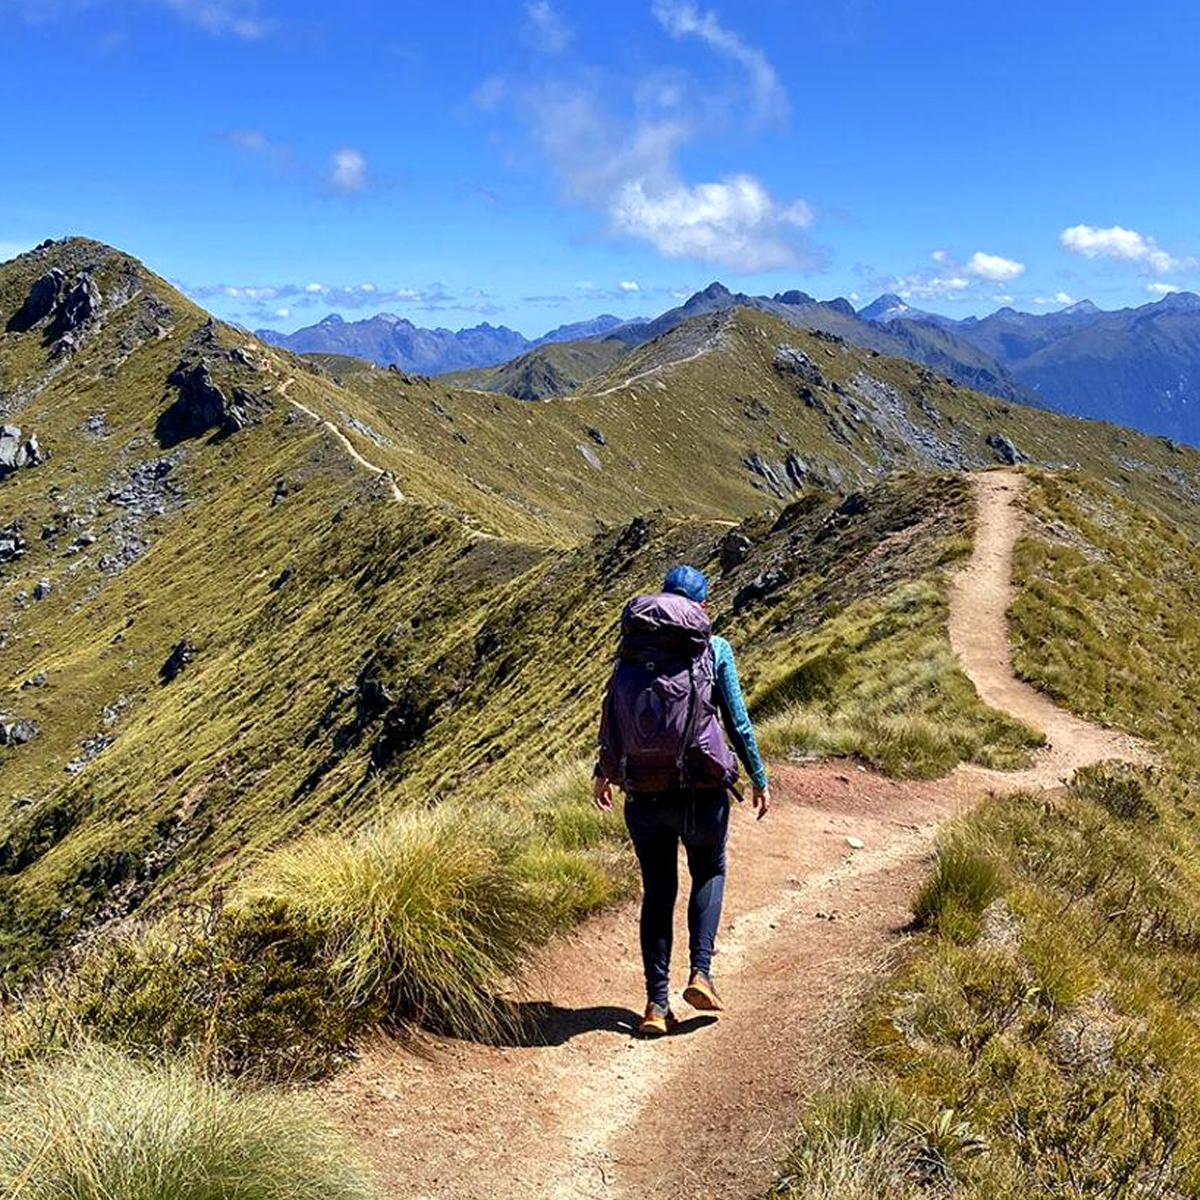
A trail that looks easy on a map can become demanding within the first mile. Steep climbs, loose rocks, and exposed hillsides can slow even experienced hikers. Meanwhile, a longer route through flat woodland might suit someone with little hiking experience.
That variety is part of the appeal of hiking trails. Some follow streams through local parks, while others cross mountain slopes or remote wilderness. Distance tells only part of the story. Terrain, elevation gain, weather, and trail conditions can matter just as much.
A rewarding hike does not need to end at a summit. The important part is choosing a route that suits the people walking it and preparing for what lies ahead.
Finding the Right Hiking Trail
A five-mile woodland trail is not necessarily harder than a three-mile mountain route. The shorter hike might involve steep climbs and rocky descents, while the longer one follows a smooth, maintained path.
Before choosing a route, check its elevation profile, surface, difficulty rating, and recent condition reports. These details provide a better picture than mileage alone.
Hiking for beginners often starts with well-marked routes in parks and managed recreation areas, where maps and access information are easier to find. Even maintained paths, however, can become difficult after storms.
Check the route format too. A loop returns to its starting point without retracing the entire trail. An out-and-back follows the same path in both directions. Make sure the published mileage covers the complete trip rather than just the distance to a destination.
Distance, Elevation and Terrain
Hiking distance is easy to compare, but it does not fully describe the effort involved. The amount of climbing and the condition of the ground often have a greater effect on pace.
Hiking elevation is particularly important in mountainous areas. Elevation gain measures all uphill climbing along a route, including repeated ascents. It is not simply the difference between the trailhead and the highest point.
A trail that climbs 600 feet, descends 300 feet, and climbs another 500 feet has 1,100 feet of cumulative elevation gain. Those additional climbs still require effort.
Surface conditions affect pace. Packed dirt allows steady walking, while gravel, exposed roots, and large rocks require careful footing. Steep descents can be tiring because the legs must control each step downhill.
Trail difficulty ratings are useful but not standardized across all trail networks. Compare mileage, elevation gain, steep sections, and recent reports rather than relying on a single label.
Matching a Trail to Your Fitness Level
General fitness helps, but hiking involves skills that ordinary walking may not develop. Someone comfortable covering several miles on sidewalks might struggle with rocky descents or sustained climbs.
Beginners should choose walking trails they can finish without becoming exhausted. Shorter routes with modest elevation gain help build confidence with pacing, footwear, and carrying a backpack.
As experience grows, distance and climbing can increase gradually. Familiar routes also make it easier to recognize when progress is slower than expected or a break is needed.
For group hikes, plan around the slowest participant. A route that suits the strongest walker may be exhausting for someone with less experience.
From Forest Paths to Mountain Trails
Different landscapes require different preparation.
Forest paths often provide shade and shelter from wind, but roots, mud, and fallen branches can complicate walking. Nature trails may highlight local wildlife, geological features, or viewpoints. Many are short, although accessibility depends on the surface and terrain.
Mountain trails introduce steeper grades, exposed ridges, and rapidly changing weather. Above the tree line, hikers may have little protection from wind or approaching storms.
Coastal hiking routes can involve unstable ground, strong winds, or tidal restrictions. Desert hiking presents challenges involving heat, water availability, and navigation.
The right environment depends on the season, available equipment, and the experience of the group. A route suited to a relaxed afternoon of outdoor recreation may be quite different from one intended for a demanding mountain hike.
What Makes a Great Day Hike?
A memorable day hike combines interesting scenery with enough time to enjoy it. A waterfall, forest, or valley viewpoint can make a worthwhile destination without requiring a particularly long route.
Day hiking requires realistic scheduling. Published hiking times are estimates, and rough terrain, breaks, or slower group members can extend the outing. Travel to the trailhead, parking, and access restrictions also affect the schedule.
Consider how conditions change during the day. A shaded morning climb may become exposed to direct sunlight later, while woodland trails can be difficult to navigate near sunset.
Leave enough daylight and flexibility for unexpected delays rather than treating the estimated walking time as a fixed deadline.
Preparing for Different Trail Conditions
Trail conditions can change quickly. Storms may leave fallen trees, damaged bridges, standing water, or washed-out sections.
Check official trail notices before leaving. Park authorities may report closures, seasonal restrictions, and maintenance work. Recent reports from other hikers can provide additional context.
Weather forecasts should reflect the trail’s elevation, not just the nearest town. Mountain temperatures may be lower, while exposed ridges can experience stronger winds.
Seasonal changes also matter. Snow may linger on shaded slopes after lowland trails clear, and exposed routes can become dangerously hot in summer.
Set a turnaround time before starting, especially on out-and-back hikes. If progress is slower than expected or conditions worsen, returning early is often the sensible choice.
Hiking in Wet and Muddy Conditions
Rain makes roots, smooth stones, and clay-rich soil slippery. Footwear with suitable tread helps, but controlled steps and careful footing remain important.
Avoid walking around muddy patches when doing so would widen the trail or damage vegetation. Stay on the established route where it is safe and passable. Otherwise, consider turning back.
Streams require caution after rainfall. Fast currents, unstable rocks, poor visibility, and cold water can make crossings dangerous even when the water appears shallow.
Wet clothing can also become a problem when temperatures fall. A waterproof shell and dry insulating layer help maintain comfort during stops.
Cold-Weather and Winter Hiking
Snow can hide rocks, roots, and trail markers, while ice makes descents hazardous. Shorter daylight hours leave less time for unexpected delays.
Dress in adjustable layers. A moisture-managing base layer, insulating middle layer, and protective outer layer help regulate temperature. Avoid sweating excessively during climbs, since damp clothing can cause rapid cooling during breaks.
Packed snow and icy paths may require traction devices. Steep snowfields and technical mountain terrain can demand specialized equipment and training beyond ordinary winter hiking gear.
Footprints are not reliable navigation guides because they may lead away from the intended route.
In avalanche-prone areas, consult local avalanche forecasts and understand hazards from nearby slopes. Hikers without appropriate training and equipment should avoid avalanche terrain, including routes exposed to potential slides from slopes above.
Carry a headlamp even when planning to finish before sunset.
What to Pack for a Day on the Trail
Packing involves balancing comfort with preparedness. An overloaded backpack adds fatigue, but missing essential supplies can create problems when conditions deteriorate.
Equipment needs depend on the terrain, season, distance, and remoteness of the route. A short park walk requires different preparation from a mountain hike far from assistance.
Water is a priority. Requirements vary with temperature, exertion, and individual needs. Natural water sources should not be considered safe without appropriate treatment.
For longer outings, bring convenient food such as sandwiches, nuts, or dried fruit. Extra snacks are useful when a hike takes longer than expected.
A practical day hiking kit includes:
-
Comfortable footwear suited to the terrain
-
Sufficient drinking water and food
-
Weather-appropriate clothing and an insulating layer
-
A map and reliable navigation method
-
A charged phone and optional power bank
-
A headlamp with adequate battery life
-
Basic first-aid supplies
-
Sunscreen and a hat
-
Emergency supplies appropriate to the location
Remote or exposed trails may require additional hiking gear. Knowing how to use the equipment matters too. Download offline maps before leaving cellular coverage, and keep water, snacks, and rain protection within easy reach.
Heavier items are generally more comfortable close to the back. Reliable basics usually matter more than expensive accessories.
Good hiking safety practices also involve planning for situations in which equipment alone cannot solve a problem. Knowing when to turn around is often more valuable than carrying another piece of gear.
Building Fitness for Longer Hikes
Longer hikes demand endurance, leg strength, and controlled movement over uneven ground. Regular walking provides a foundation, especially when combined with hills and occasional practice carrying a backpack.
Strength exercises such as step-ups, squats, and lunges help prepare the legs for climbing and descending. Balance training can improve confidence on uneven surfaces.
Downhill walking deserves attention. Steep descents place substantial demands on the quadriceps, so someone comfortable climbing may still find the return journey tiring.
Build up gradually. Increasing distance, elevation gain, and backpack weight simultaneously can lead to excessive fatigue and make it difficult to identify the cause.
Recovery is important. Persistent soreness or declining performance may indicate that training demands are increasing too quickly.
Start hikes at a sustainable pace and take short breaks before exhaustion sets in. Familiar routes provide useful benchmarks for measuring improvements in endurance and comfort.
Reading Trail Markers and Staying on Route
Navigation begins before reaching the trailhead. Review the map to identify junctions, landmarks, elevation changes, and possible connections to roads or other paths.
Trail markers vary between regions. Some routes use painted blazes on trees or rocks, while others rely on signposts, numbered junctions, cairns, or local symbols.
There is no universal marking system for hiking trails. Check local guidance rather than assuming a familiar color or symbol has the same meaning everywhere.
At intersections, confirm the direction before continuing. The widest path is not necessarily the correct one.
Digital navigation helps when an app displays the hiker’s position on an offline map. GPS positioning can work without cellular service, although accuracy may decrease in narrow valleys or dense forests.
A paper map and compass provide backup if electronic devices fail, provided the hiker knows how to use them.
Stay on designated trails to reduce erosion and avoid damaging fragile vegetation. Cutting switchbacks can also lead onto unstable ground.
If the route becomes unclear, stop and check the map rather than continuing in an uncertain direction. Return to the last confirmed location if it is safe.
For remote hikes, tell someone the intended route and expected return time before leaving.
FAQ
How can beginners find suitable hiking trails?
Choose maintained trails with clear descriptions, modest elevation gain, and reliable navigation information. Short loops in local parks are good starting points. Check current conditions and allow extra time for breaks.
How long does it take to hike five miles?
On relatively flat, well-maintained trails, five miles may take around two to three hours of moving time at a steady walking pace. Beginners, particularly those unfamiliar with the terrain, may need longer. Steep climbs, rough surfaces, and rest breaks can extend the outing further.
Are hiking boots necessary for every trail?
No. Walking shoes or trail-running shoes may work well on maintained paths. Rocky or wet terrain may call for more protective footwear with suitable traction, while heavier loads can affect the amount of support a hiker prefers. Fit and comfort matter more than the label.
What should hikers do if they lose the trail?
Stop and assess the surroundings. Check a map or offline navigation app and look for recognizable landmarks. Retrace the route to the last confirmed location if safe. Seek emergency assistance if unable to return safely.
Is hiking alone safe for beginners?
Solo hiking involves additional risks because immediate help may be unavailable. Beginners should choose familiar, well-marked routes with regular foot traffic. Check conditions, carry appropriate supplies, and tell someone where they are going and when they expect to return.